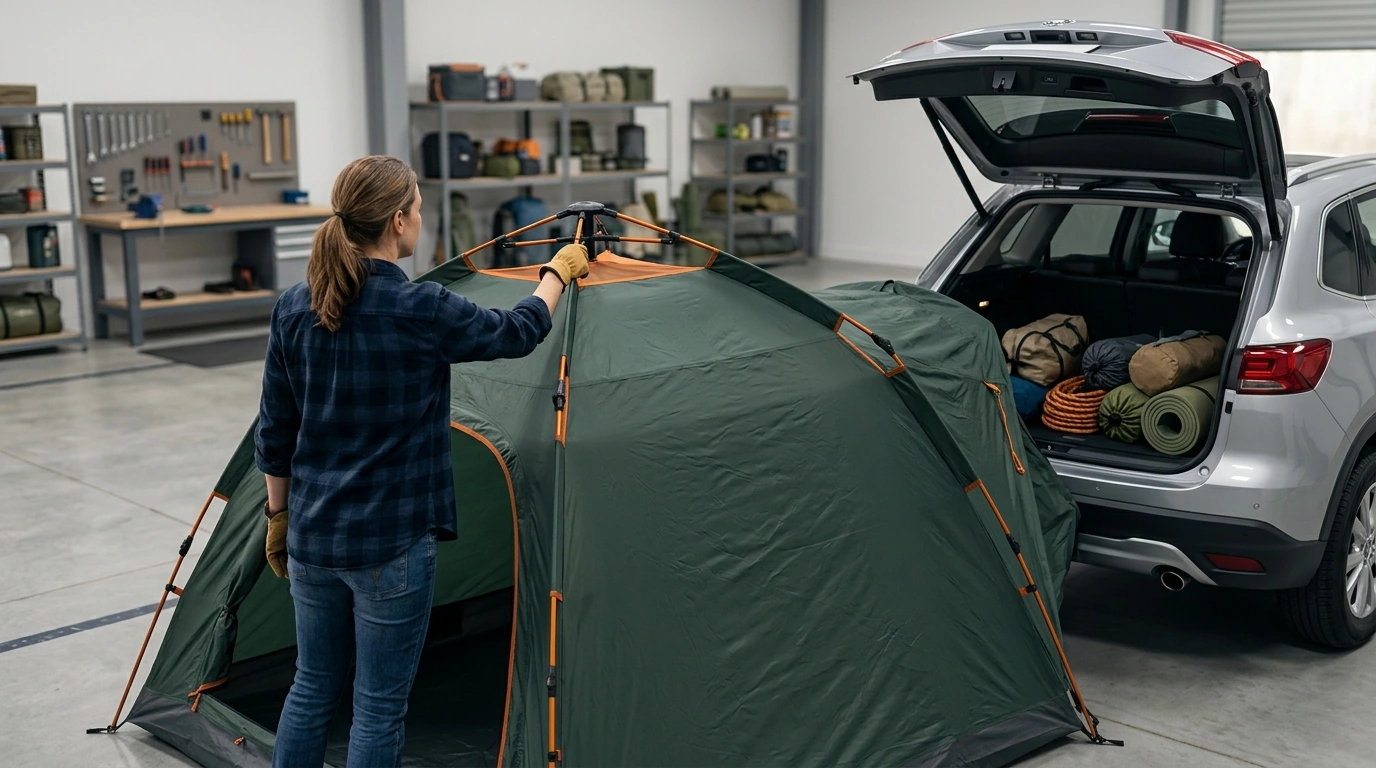
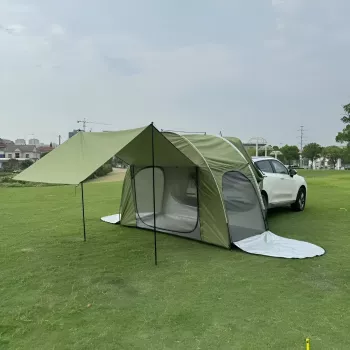
The easiest SUV tent to set up is typically a hub-style or “instant” SUV tent that attaches to your open liftgate with a simple sleeve or strap system and uses one to three pre-connected poles. Our team sees the fastest, least-fussy setups come from designs that stand on their own first (freestanding), then connect to your vehicle second—so you’re not wrestling fabric while trying to align it to your SUV.
If your priority is speed, look for an SUV tent that pops into shape with integrated hubs and minimal pole handling. You’ll usually stake the corners, extend one main frame, and then snug the connection panel around your rear hatch. This approach reduces steps, keeps the tent stable if you need to drive off, and makes solo setup much more manageable.
To get the simplest setup, choose an SUV tent with: pre-attached poles (hub or telescoping), color-coded attachment points, quick-release buckles or webbing straps (instead of complicated sleeves), and a straightforward footprint with four main stakes. A roomy connection panel with adjustable straps helps fit different tailgate heights without constant re-tensioning.
Park on the flattest spot you can find, set your parking brake, and open the liftgate fully before unpacking. Stake the upwind corners first, then build the frame, and attach to the vehicle last so the tent holds its shape. Keep a small kit with a mallet, extra stakes, and a headlamp so you’re not improvising when light or soil conditions change.
For a deeper breakdown of tent styles, connection methods, and practical SUV-camping considerations, visit our complete guide: https://elpisa.com/guide-suv-camping-tent-guide-toyota-ford-honda/.
Open at least two vents or windows to create cross-breeze and avoid sealing the tent tight against the vehicle with no airflow. Keeping wet gear outside the sleeping area also reduces moisture buildup.





Leave a comment