A small exterior detail can change the whole vibe of a vehicle. The 3D ABS Redneck Edition Car Emblem Badge Sticker is built to add raised, eye-catching style to cars, trucks, and SUVs with a quick peel-and-stick install on smooth surfaces. It’s the kind of accent that looks intentional from a few feet away—without the hassle of drilling holes or committing to a permanent modification.
What This Emblem Adds to a Vehicle
- Raised 3D look that stands out more than flat decals, especially along body lines and trim edges.
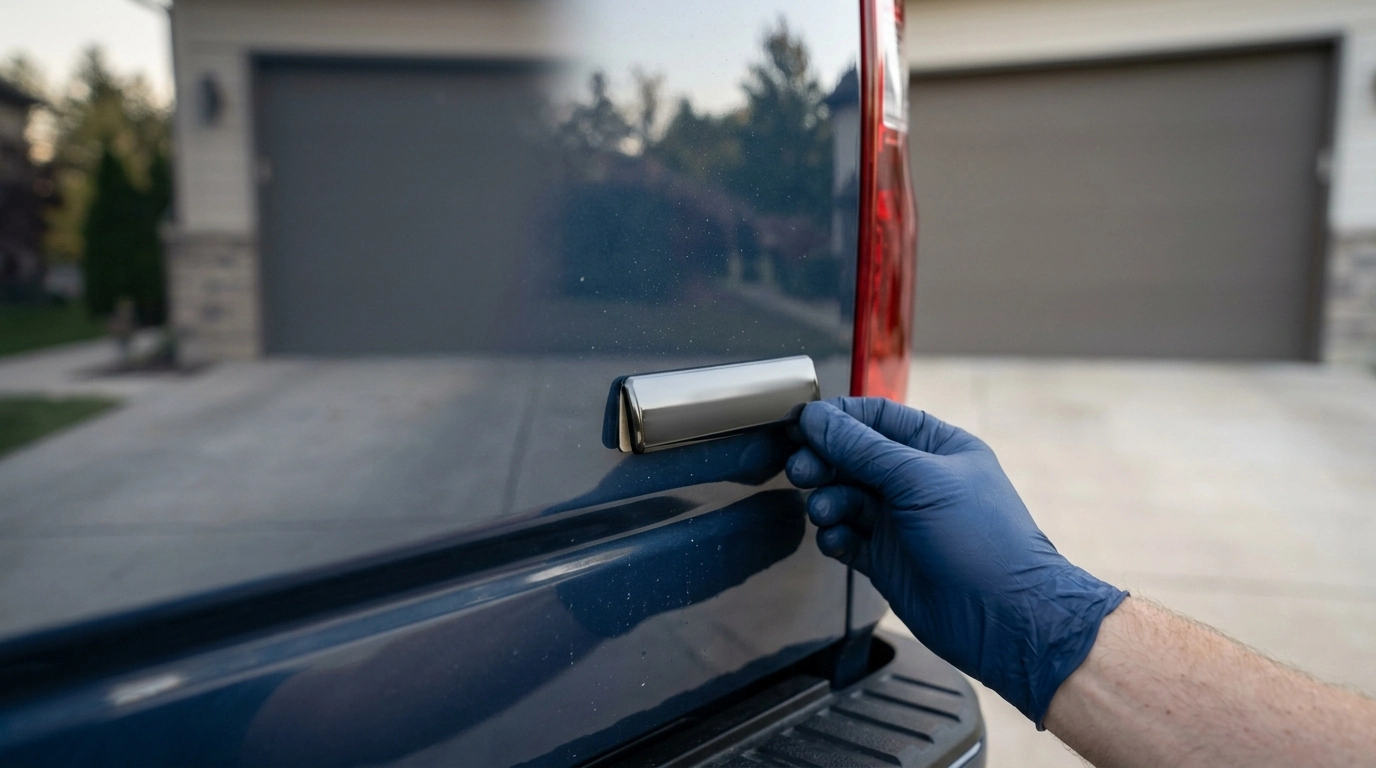
- Fun personalization for grills, tailgates, trunks, toolboxes, and even select interior trim—so long as the surface is smooth and clean.
- Simple installation that avoids drilling and can be removed later with the right technique, when placed thoughtfully.
Because the badge has dimension, it can visually “finish” a spot that feels empty—like a tailgate corner, a trunk lid area above the plate, or a toolbox face. Done right, it looks like it belongs there.
Material and Build: Why ABS Is Common for Exterior Badges
- ABS plastic is widely used for trim because it’s lightweight and holds molded shapes well.
- Rigid badge styling helps the design stay crisp compared with thin vinyl stickers that can telegraph surface texture or wrinkle over time.
- Mounting matters: best results come from flat or gently curved areas that allow full adhesive contact (full contact is what prevents edge lift).
For many vehicle accessories, the adhesive bond is just as important as the badge material. Automotive-grade attachment tapes are designed to handle vibration, temperature swings, and weather exposure when installed on a properly prepped surface. For more background on how these tapes are used across automotive applications, see 3M’s overview of automotive attachment tape (VHB).
Quick Details Before You Buy
- Pick placement first, then confirm the area is smooth and wide enough for full contact.
- Avoid textured plastics, rubber trim, and unfinished surfaces unless using an adhesion promoter and testing first.
- Clean coatings and wax: if the vehicle has ceramic coating or fresh wax, clean thoroughly so the adhesive bonds to the panel—not the product layer on top.
At-a-glance checklist
| Item |
What to check |
| Surface type |
Smooth, hard, non-porous (painted metal, clear-coated panels, glossy plastic) |
| Cleanliness |
No wax, grease, polish residue, or dust where the badge will sit |
| Temperature for install |
Mild conditions so adhesive can flow and grip (avoid very cold panels) |
| Curves and edges |
Avoid sharp bends that lift corners over time |
| Removal plan |
Heat + gentle peeling; adhesive residue can be cleaned with a safe remover |
Where It Looks Best: Placement Ideas
- Tailgate or trunk lid: centered for symmetry, or offset near existing trim lines for a factory-adjacent look.
- Front end: a flat grille surround or bumper area works well—avoid blocking sensors, cameras, or airflow paths.
- Side panels: near existing fender badges, or on bedside panels for trucks where the surface is flatter.
- Interior accents: glovebox face, center console trim, or inside rear window area (only if smooth and not obstructing visibility).
A helpful rule: if you can press the badge evenly across its entire back without any corners floating, you’ve likely found a spot that will last.
Installation Steps for a Clean, Long-Lasting Bond
- Wash and dry the area, then wipe with isopropyl alcohol on a lint-free cloth to remove oils.
- Test-position first using painter’s tape so it sits level with body lines before exposing any adhesive.
- Peel the backing, apply from one edge to the other, and press firmly across the entire badge surface.
- Hold steady pressure for 30–60 seconds to help the adhesive “wet out” and grip.
- Give it time: avoid washing immediately after installing; patience here pays off in long-term hold.
- Cool-weather tip: gently warm the panel and adhesive side with mild heat (never hot enough to risk paint damage).
Care Tips: Keeping the Badge Looking Sharp
- Hand washing is safest. If using an automatic wash, avoid directing high-pressure spray right at the badge edges.
- Use mild car shampoo and avoid harsh solvents on the badge surface.
- When polishing nearby panels, tape around the badge edges so compound doesn’t pack into the border.
General car wash best practices can also extend the life of exterior accessories. The International Carwash Association shares guidance on vehicle maintenance and wash considerations that can help keep surfaces (and add-ons) looking better longer.
Removal and Repositioning (Without Damaging Paint)
- Warm the emblem gently to soften adhesive, then lift an edge with a plastic trim tool.
- Use dental floss or fishing line to “saw” behind the badge, keeping pressure light and controlled.
- Clean residue with a paint-safe adhesive remover and a microfiber towel—no metal tools, no aggressive scraping.
- Plan on fresh tape if reinstalling; reused adhesive rarely holds well after removal.
Who This Makes a Great Gift For
More In-Stock Picks
FAQ
Will this emblem stick to textured plastic or rubber trim?
It bonds best to smooth, clean, non-porous surfaces. Textured or rubbery trim reduces contact area and often leads to lifting, so use an adhesion promoter and test a small spot first if you must mount there.
Can it be removed without harming the paint?
Usually, yes—when removed slowly with gentle heat. Warm the badge, peel carefully (floss helps), then remove leftover adhesive with a paint-safe remover and a microfiber towel.
How soon can the car be washed after installation?
Waiting at least 24 hours is a common practice so the adhesive can set before moisture and pressure exposure. After that, avoid blasting high-pressure water directly at the badge edges to help prevent lift.
Recommended for you




Leave a comment