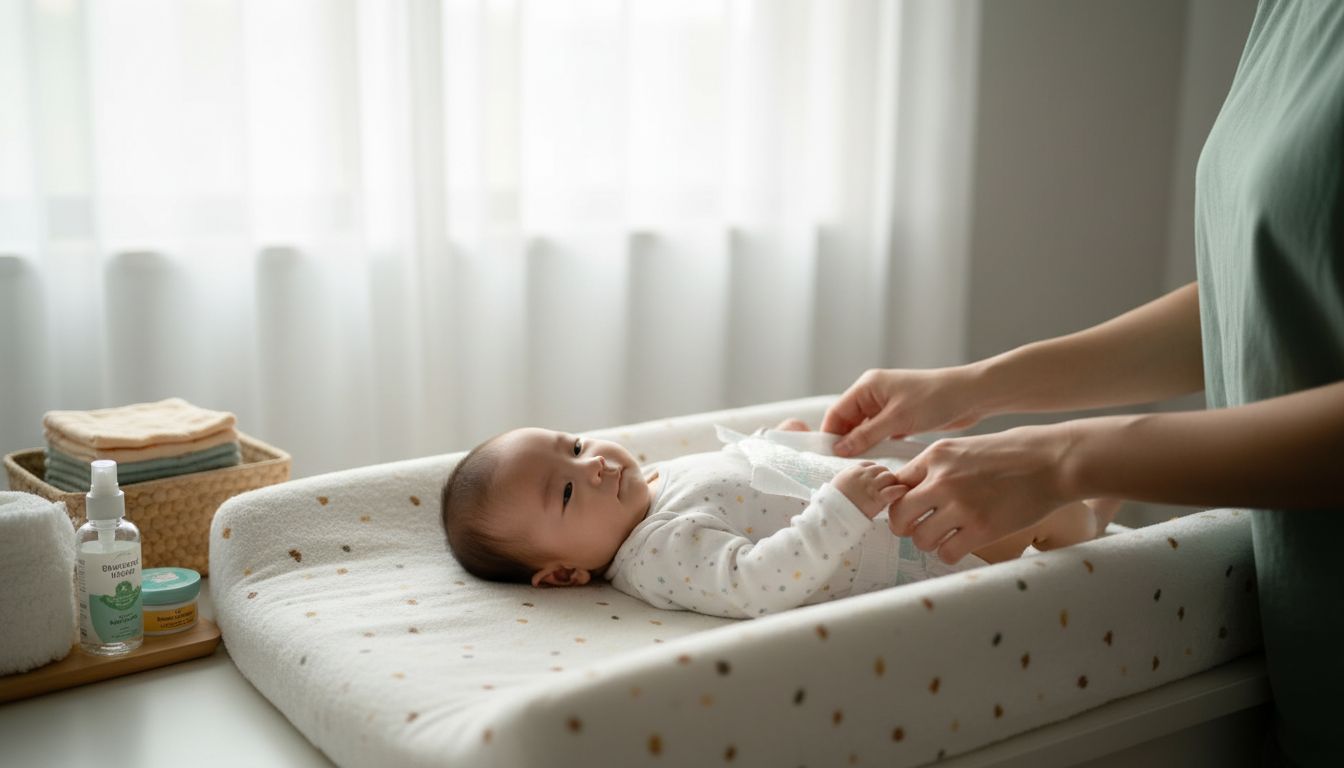
Diaper changes don’t have to feel like a race against leaks, rolling, and surprise blowouts. A “clean and calm” approach is simply a repeatable setup, a consistent step order, and a few calming cues that help baby understand what’s happening. When every change follows the same rhythm—at home or on the go—hygiene improves, skin stays happier, and caregivers feel more in control.
The goal is less improvising and more autopilot. A clean and calm change usually includes:
A good station doesn’t have to be fancy—it just has to be consistent. Choose a stable surface (changing table, dresser top with a secured pad, or a floor setup for active babies). Keep supplies in a single caddy so you can move the whole system from room to room if needed.
One small habit that makes a big difference: create a “clean side” and “dirty side”. Unopened diapers, wipes, and clean clothes stay on the clean side; used wipes/diaper and soiled clothes move to the dirty side. That tiny boundary helps reduce cross-contamination when you’re moving fast.
If possible, place a small lidded trash can within reach. Odor-control liners are especially helpful in nurseries with frequent changes.
| Item | Why it helps | Keep within reach? |
|---|---|---|
| Changing pad + washable cover | Creates a consistent, wipeable surface | Yes |
| Diapers (current size) + 2 spares | Prevents mid-change scrambling | Yes |
| Wipes or soft cloths | Primary cleanup tool | Yes |
| Barrier cream/ointment | Protects irritated skin and reduces friction | Yes |
| Disposable bags or wet bag | Contain soiled diapers/clothes while traveling | Yes |
| Hand sanitizer or nearby sink access | Supports hygiene before and after | Yes |
| Spare onesie + pants | Handles surprise leaks/blowouts | Yes |
| Small toy or high-contrast card | Helps keep baby still and calm | Yes |
Whether you’re at a changing table or in the back seat, the same sequence keeps things smooth.
Hygiene matters for caregivers too. When possible, follow evidence-based hand hygiene habits (wash with soap and water when available, especially after messy changes). The CDC’s handwashing guidance is a helpful reference for timing and technique: CDC — Handwashing: Clean Hands Save Lives.
Squirming often improves when baby can predict what comes next. A few low-effort strategies tend to pay off quickly:
Keep cleaning gentle: wipe thoroughly, but don’t scrub. If sensitivity is suspected, fragrance-free products may be better tolerated. For more detailed diaper rash guidance, these references are useful: American Academy of Pediatrics — Diaper Rash and Mayo Clinic — Diaper rash.
If consistency is the missing piece, a single system can help everyone follow the same steps—especially across multiple caregivers. The Clean & Calm System for Diaper Changes: 3-in-1 Bundle – Diapering Guide, Hacks, & Checklist is designed to make the routine easy to repeat.
For families who also like standardizing other daily decisions (like getting dressed quickly and reducing laundry confusion), a structured system can help there too. The Capsule Wardrobe Builder Kit | How to Build a Capsule Wardrobe 3-in-1 Guides can complement a routine-first approach by simplifying what’s in rotation—especially during the baby-and-toddler years when time is tight.
Many babies do well with changes about every 2–3 hours during the day, and promptly after bowel movements. The right timing varies by age, diaper absorbency, and skin sensitivity—aim for keeping skin as clean and dry as practical.
Consistency helps most: use the same cue words, keep a special “changing-time only” toy, and reduce cold wipes or bright lights. With daily repetition, many babies show improvement over 1–2 weeks as the routine becomes predictable.
Contact a pediatric professional if the rash is worsening, has open sores or blisters, comes with fever, looks infected, or doesn’t improve after a few days of basic care (gentle cleaning, frequent changes, and barrier protection).







Leave a comment