A “new car” look is mostly the result of dozens of small fixes done in the right order: deep cleaning, paint correction, trim restoration, and a few high-impact interior upgrades. The good news is that a dramatic transformation doesn’t require a body shop—just a smart plan, the right tools, and a few focused hours.
If you want a step-by-step playbook you can keep on your phone while you work, check out How to Make Your Old Car Look New Again: The Ultimate Guide to Revamping Your Ride. For a comfortable “detail day” outfit you won’t baby around chemicals and water, Levi’s Men’s Blue Slip-On Jeans with Worn-Out Effect is an easy grab-and-go option.
Start With a Quick Assessment (So Effort Goes Where It Shows)
Before you touch a sponge, take five minutes to decide what will move the needle most on your specific car.
- Do a bright-day walk-around: Look for dull or chalky paint, obvious scratches, faded trim, cloudy headlights, heavy brake dust, and panels that reflect differently.
- Check the interior honestly: Odors, stained fabric, glossy steering wheels, sticky buttons, dusty vents, and tired floor mats are “age tells.”
- Pick the goal: “Clean and glossy” (fast) versus “correct and restore” (more time, bigger jump in finish quality).
- Set a realistic timeframe: A strong refresh often fits in 4–8 hours; true paint correction can take a full weekend depending on paint condition and vehicle size.
Deep Clean the Exterior the Safe Way
Most “old car” paint looks old because it’s dirty and contaminated—not because it’s beyond saving. Washing correctly prevents you from adding new swirl marks while you chase shine.
- Pre-rinse thoroughly: Knock off loose grit first; never grind dry dirt into paint.
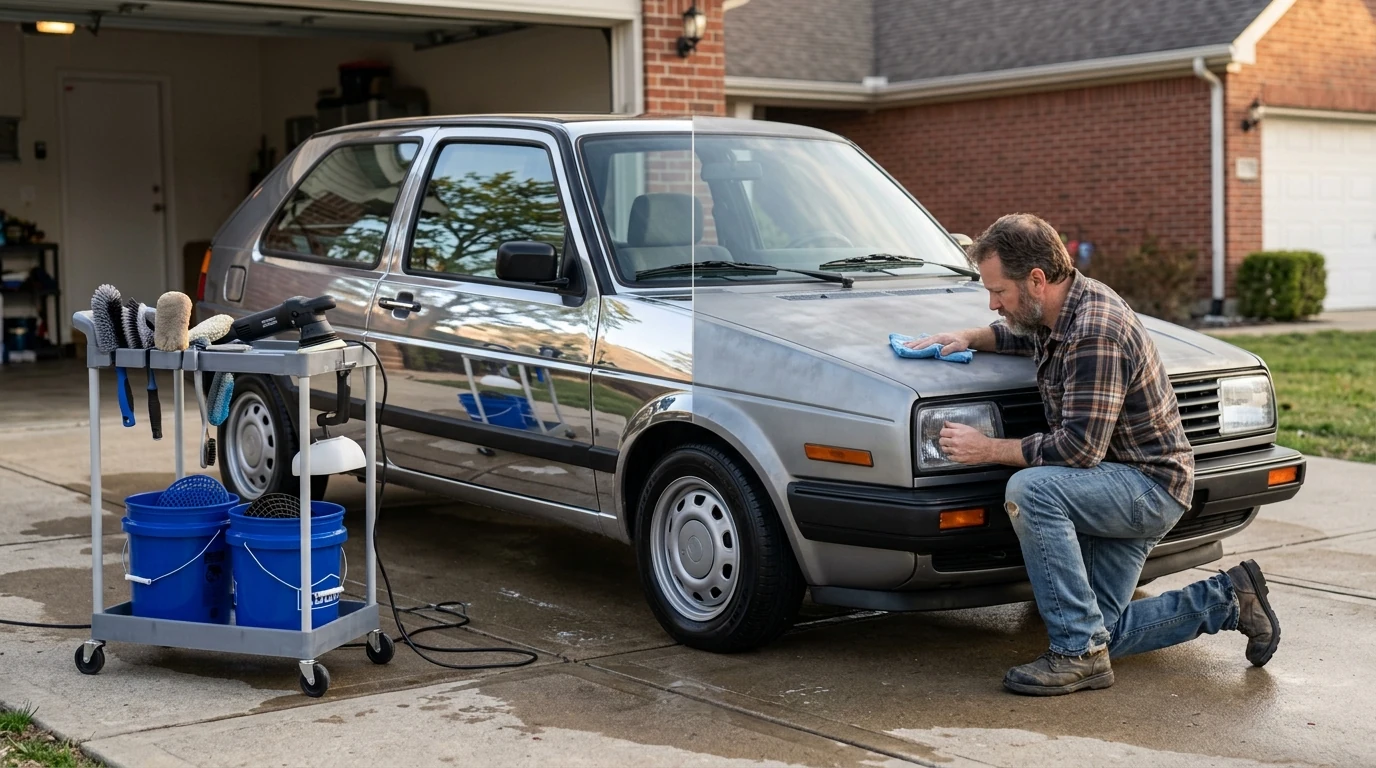
- Use the two-bucket method: One bucket for soapy water, one for rinsing your microfiber mitt. This reduces the chance of dragging abrasive particles across the finish.
- Do wheels and tires first: Use dedicated brushes and wheel tools so brake dust doesn’t splash onto freshly washed panels.
- Decontaminate after washing: A clay bar or synthetic clay mitt removes bonded contaminants that block gloss and make paint feel rough.
- Dry properly: Use clean microfiber drying towels or a blower to avoid water spotting—especially on dark paint.
Weekend Revamp Checklist (High-Impact Order of Operations)
| Step |
Why it matters |
Typical time |
| Wash + wheel clean |
Creates a clean base and prevents grinding dirt into paint |
45–90 min |
| Decontaminate (clay) |
Removes embedded grime so paint can reflect light evenly |
30–60 min |
| Polish (spot or full) |
Restores clarity and gloss by leveling minor defects |
60–240 min |
| Protect (wax/sealant) |
Locks in shine and makes future washes easier |
20–45 min |
| Headlight restore |
Instantly modernizes the front end and improves visibility |
30–90 min |
| Interior deep clean |
Removes odors and wear cues that make a car feel “old” |
60–180 min |
Bring Back Paint Gloss: Polish Before You Protect
Protection products (wax/sealant) don’t remove haze or oxidation—they seal whatever condition the paint is currently in. Polishing is the step that makes paint look “newer” by restoring optical clarity.
- Test a small section first: Use the least aggressive polish/pad combo that improves gloss. You can always step up if needed.
- Hand vs. machine: Hand polishing can help with light oxidation; a dual-action polisher delivers faster, more consistent results across large panels.
- Prioritize what people see first: Hood, roof, trunk, and the upper door areas usually give the biggest payoff per minute.
- Inspect from multiple angles: After wiping residue with a clean microfiber, check results in direct light and from the side—haze can hide until you change your viewing angle.
Lock In the Shine With Protection That Fits Your Routine
Once the paint is clean and glossy, protect it so it stays that way longer (and becomes easier to wash next time).
- Wax: A warm glow and straightforward application, but shorter durability—great if you enjoy detailing often.
- Sealant: Typically longer-lasting with a crisp, reflective finish—ideal for daily drivers and busy schedules.
- Spray sealants/quick detailers: Fastest option for maintenance washes and quick touch-ups between deeper details.
- Application rule: Thin and even wins. Heavy application often leads to haze, streaks, and wasted product.
Restore the “Newer” Look: Trim, Plastics, and Headlights
Faded trim and cloudy headlights can make a clean car still look tired. These fixes are relatively inexpensive and extremely visible.
Refresh Wheels, Tires, and Wheel Wells for a Finished Stance
Make the Interior Feel New: Odor, Touch Points, and Fabrics
For broader maintenance habits that keep vehicles running efficiently as well as looking good, see guidance from NHTSA and the U.S. Department of Energy.
Keep It Looking Fresh: A Simple 15-Minute Maintenance Rhythm
FAQ
What’s the fastest way to make an old car look newer in one day?
Do a thorough wash plus decontamination, then a quick polish on the hood and roof, apply protection, and restore the headlights. Finish by cleaning interior glass and high-touch points like the steering wheel and shifter.
Do headlights get cloudy again after restoration?
Yes, they often re-cloud if you don’t apply UV protection after restoring them. A UV-resistant coating or sealant—and minimizing long-term sun exposure when possible—helps clarity last much longer.
Is polishing safe for older paint?
Usually, yes—when you start with the least aggressive method and test a small area first. Avoid heavy compounding unless it’s truly necessary, and consider professional help if paint is thin, failing, or already peeling.
Recommended for you





Leave a comment