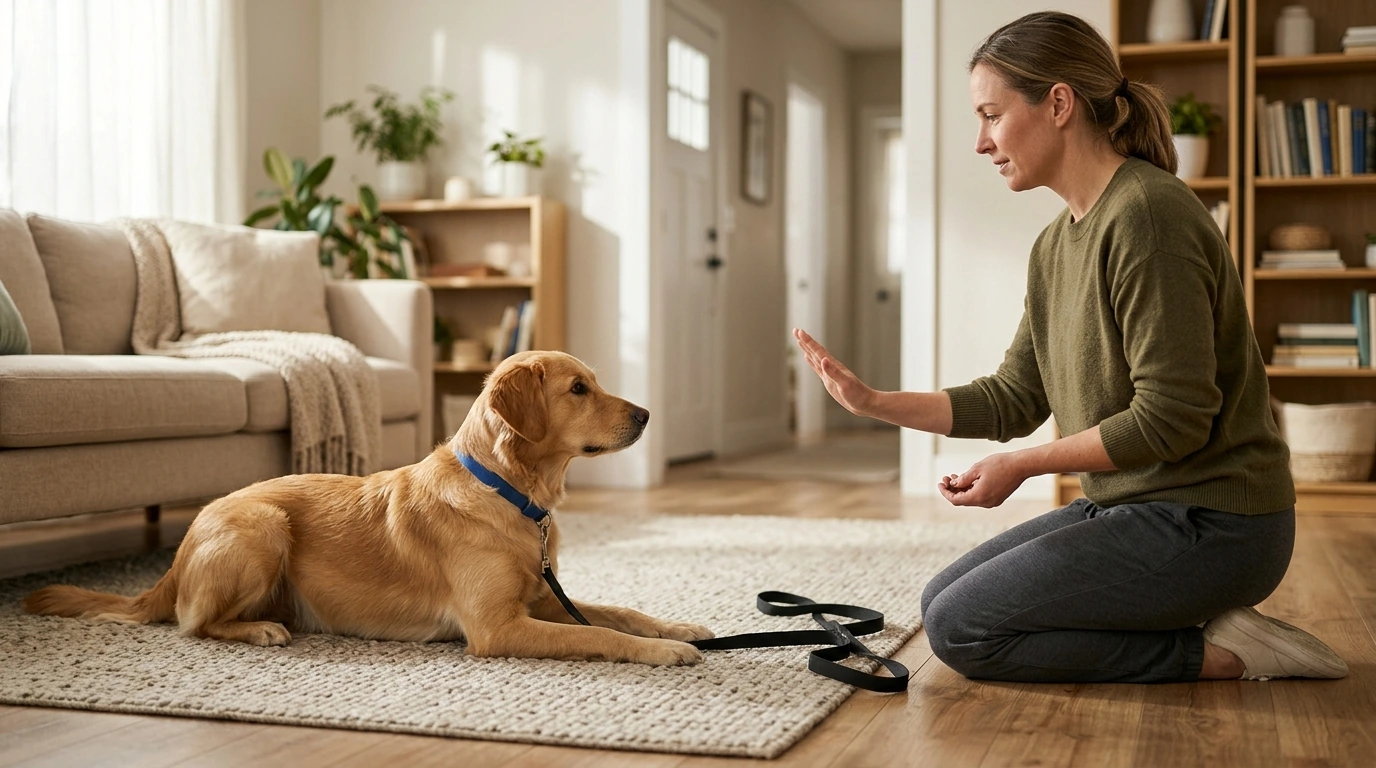
A reliable “stay” is less about stopping a dog and more about teaching calm self-control. When a dog understands exactly what earns rewards—holding a position until a clear release—“stay” becomes a peaceful default you can use at doors, during greetings, around food, and in everyday distractions. The plan below keeps progress tiny, sessions short, and expectations crystal clear so beginners can build a steady stay without frustration.
“Stay” isn’t just “don’t move.” It’s a complete picture: hold a specific position (sit or down), maintain stillness for a period of time (duration), and keep doing it until you hear a release cue. That release word is part of the behavior—without it, many dogs guess, pop up early, or start creeping forward.
Calm training matters because it prevents the two big stay-killers: rushing and emotional noise (whining, hopping, bouncing). Reward-based methods—supported by guidance from organizations like the American Veterinary Society of Animal Behavior (AVSAB) and the RSPCA—help dogs learn which quiet choices pay off.
A beginner-friendly goal is many short, successful stays repeated often, not long, shaky attempts. Broken stays usually happen because the release isn’t clear, difficulty increases too quickly, practice only happens in one room, or rewards arrive after the dog has already moved.
Start with one position and keep everything predictable. Many dogs find “down” easier for calm duration, but “sit” can work well too. Choose a release cue like “free” or “okay” and use it every single time—consistency is what makes the stay feel safe and understandable.
Use small, soft treats so your dog can swallow quickly without getting revved up. Train in a low-distraction area with good footing, and keep sessions to 3–5 minutes. A leash or tether is for safety and management, not for physically holding the dog in place (keep slack during the stay).
| Item | Purpose | Beginner tip |
|---|---|---|
| Treat pouch + pea-sized treats | Fast reinforcement | Aim for 10–20 rewards per short session |
| Release cue | Ends the stay clearly | Say release first, then encourage movement |
| Mat/bed (optional) | Adds a clear “place” target | Start on the mat to make stillness easier |
| Leash | Safety and management | Keep slack; avoid tightening during the stay |
| Timer | Track duration without guessing | Increase time in 1–3 second steps |
1) Start by paying the position. Ask for sit or down. Then calmly deliver 3–5 treats while your dog remains in position. This builds real value for stillness instead of accidental “stay = tension.”
2) Add a simple cue sequence. Ask for the position → say “stay” once → pause for 1 second → mark/reward while the dog is still holding the position. Keep your body language quiet and steady.
3) Introduce the release. After the reward, say your release word (“free”) and then toss a treat a short distance away to reset. Tossing the treat after the release helps your dog learn that movement only happens when released—not when they get impatient.
4) Repeat a few short reps and stop early. Do several easy repetitions and end the session while your dog is succeeding. A short win today beats a messy struggle that teaches guessing.
Reliability comes from gradually expanding three skills: duration (time), distance (how far you move away), and distraction (what’s happening around the dog). The golden rule is to increase only one “D” at a time while keeping the other two easy.
Duration: Add time slowly in 1–3 second steps. If your dog breaks, simply make it easier on the next repetition (shorter time) and reward sooner.
Distance: Take one step back, return to your dog, then reward in position. Build up by adding steps and changing directions (step left, step right, one step behind) while keeping duration short.
Distraction: Start with tiny “life-like” changes: turn your head, shift your weight, take a slow breath, lightly bend your knees. Then progress to real-world distractions like a family member walking by or a toy on the floor.
A simple benchmark: aim for about 80% success before making anything harder. If success drops, you didn’t fail—you just got useful information about where to scale back.
Many dogs learn the basics in a few days of short sessions, but real reliability usually takes a few weeks of consistent practice. New rooms and outdoor spots reset difficulty, so plan to rebuild using the 3 D’s in each new environment.
Down often supports calmer, longer stays because the body is already settled, while sit can be useful for quick pauses in daily life. Start with the position your dog can hold most comfortably, then teach the other once the concept is clear.
Make the stay easier right away: shorten the time, reduce distance, remove distractions, and reward sooner with a higher rate of reinforcement. Double-check that your release cue is consistent, and avoid punishment—calm resets and clearer steps create faster progress.





Leave a comment