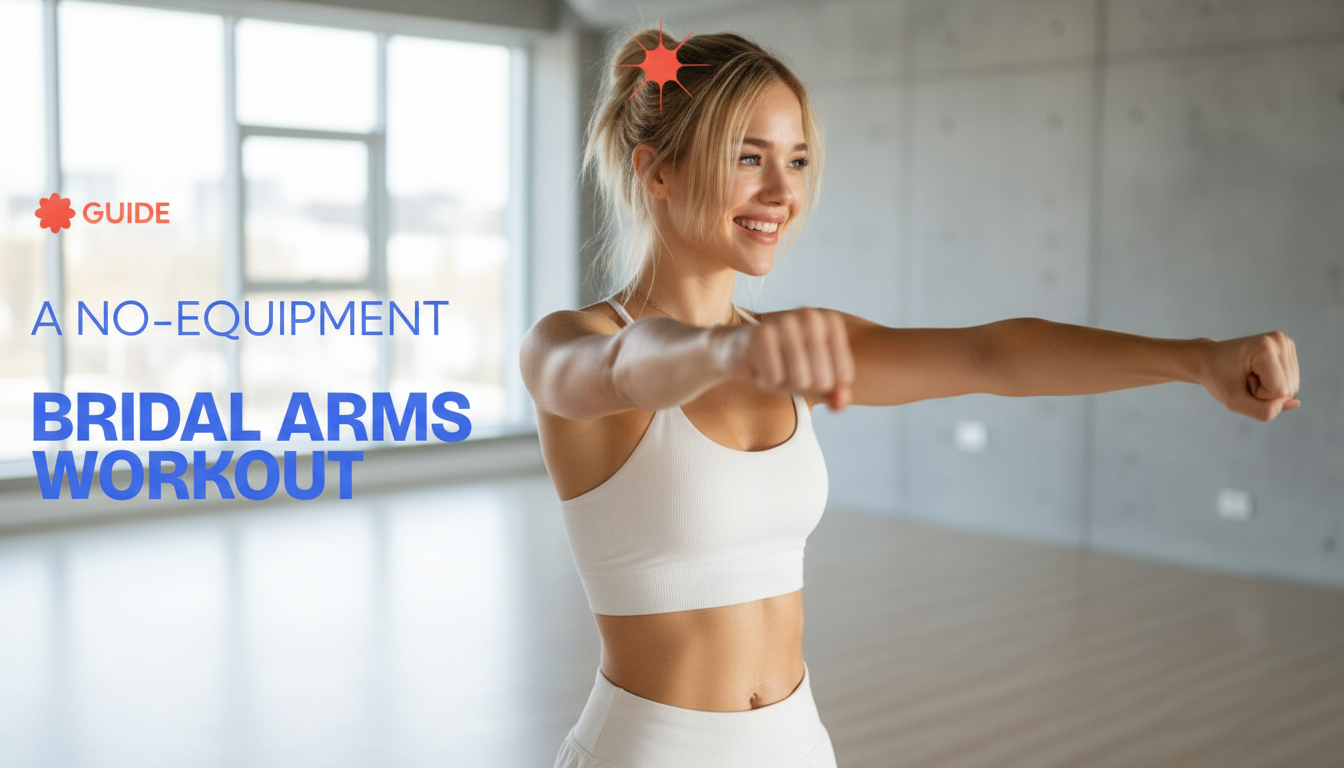
Strappy dresses, sleeveless gowns, and photo-ready moments can put extra focus on the arms and shoulders. This no-equipment plan is built for brides who want firmer, more defined arms at home using bodyweight moves, smart progression, and a simple schedule that fits into busy wedding prep.
“Toned” typically means you can see a little more shape and separation in the triceps, shoulders, and upper back—without your arms looking bulky. That look usually comes from a combination of strength work (to build or maintain muscle) and overall activity and nutrition (to manage body fat).
Posture is the underrated shortcut: improving upper-back strength and shoulder stability can make your arms look more lifted and your neckline look more open in photos, sometimes before you see major changes in arm measurements. Also, spot-reducing fat specifically from the arms isn’t reliable; a more consistent approach is strength training + total weekly movement + adequate protein.
For broader health and results, align your routine with evidence-based activity targets like the CDC’s adult physical activity recommendations and the Physical Activity Guidelines for Americans.
Beginner: wall or incline push-ups feel challenging before 8–10 reps; planks under 20–30 seconds are tough; shoulders fatigue quickly overhead.
Intermediate: can complete 10–15 incline push-ups with good form; can hold a plank 30–60 seconds; can do controlled triceps dips on a sturdy chair with no shoulder pain.
If any sharp pain occurs (especially at the front of the shoulder or elbow), switch to an easier angle, shorten the range of motion, and prioritize control over volume.
| Move | Beginner option | Intermediate option | Progression cue |
|---|---|---|---|
| Push-up | Wall or countertop push-up | Incline or knee push-up | Lower the incline over time |
| Plank | Hands-elevated plank | Floor plank | Add 5–10 seconds per week |
| Triceps focus | Bench dip with bent knees, small range | Bench dip deeper range | Add pauses at the bottom |
| Shoulders | Pike hold (short) or downward-dog pulses | Pike push-up partial reps | Increase depth and control |
Arm circles: 20–30 seconds forward + 20–30 seconds backward, gradually increasing range.
Scapular push-ups: 8–12 slow reps (keep arms straight; move shoulder blades only).
Wall slides: 8–10 reps to open the chest and wake up the upper back.
Wrist prep: gentle wrist rocks and fingertip pulses if push-ups bother wrists.
Schedule suggestion: Monday (A), Wednesday (B), Saturday (A) for week 1; then rotate so both workouts get equal exposure.
Keep 1–2 reps “in reserve” on most sets and stop before form breaks. Rest 45–75 seconds between sets; shorten rest as conditioning improves. This kind of gradual progression is consistent with established resistance-training progression principles from organizations like ACSM (position stand).
| Workout | Exercise | Sets x reps/time | Form focus |
|---|---|---|---|
| A | Incline or knee push-ups | 3 x 8–12 | Elbows 30–45° from torso; straight body line |
| A | Bench/chair triceps dips (or triceps push-up from knees) | 3 x 8–12 | Shoulders down; avoid shrugging |
| A | Forearm plank (or elevated plank) | 3 x 20–45 sec | Ribs down; glutes lightly engaged |
| A | Downward-dog shoulder taps (or holds) | 2 x 20–30 sec | Hips high; slow, controlled taps |
| B | Pike push-up partial reps (or pike holds) | 3 x 6–10 | Head moves toward floor; neck neutral |
| B | Diamond push-up incline (or close-grip push-up) | 3 x 6–10 | Triceps emphasis; keep wrists comfortable |
| B | Reverse tabletop hold (or crab reach) | 3 x 20–40 sec | Open chest; squeeze upper back |
| B | Side plank (knees down if needed) | 2–3 x 15–30 sec/side | Stack shoulders; don’t collapse into the shoulder |
Week 1–2: nail form, keep reps moderate, use incline variations as needed.
Week 3–4: add 1–2 reps per set or 5–10 seconds per hold; reduce incline slightly for push-ups.
Week 5–6: add a 1–2 second pause at the bottom of push-ups/dips; aim for smoother tempo and stricter form.
If you’re short on time, do one “density” round: set a 10-minute timer and cycle three moves (for example: incline push-ups, plank, and shoulder taps) with clean reps and short rests.
Shrugging shoulders: think “shoulders away from ears,” especially in planks and dips.
Three sessions per week is a practical sweet spot for most brides, especially with week-to-week progression. Many notice improved posture and a firmer feel in 2–4 weeks, with more visible definition often taking 6–8+ weeks depending on your starting point and overall activity.
Yes—changing body angles (wall/incline/floor), slowing tempo, adding pauses, and prioritizing high-quality reps can create a strong training effect. Push-up variations, pike work, planks, and controlled dips (when comfortable) can effectively target triceps, shoulders, and upper back.
Elevate your hands, try push-ups on fists over a folded towel, and reduce range of motion while you build control. Stop if you feel sharp pain, and if discomfort persists, consider getting guidance from a qualified professional.






Leave a comment